
When comparing molded-in vs post-mold threaded inserts, molded-in hardware is positioned before plastic injection, while post-mold inserts are installed after the plastic component has been formed. That timing changes the mold design, equipment and production sequence, so the installation method should be defined before requesting tooling or robot quotations.
Two finished parts may both contain a metal thread while requiring different manufacturing routes. One route loads hardware into the injection mold; another brings a molded part to an installation station. Start by specifying the joint and the point at which the insert enters the process, rather than using ‘insert automation’ as a complete equipment description.
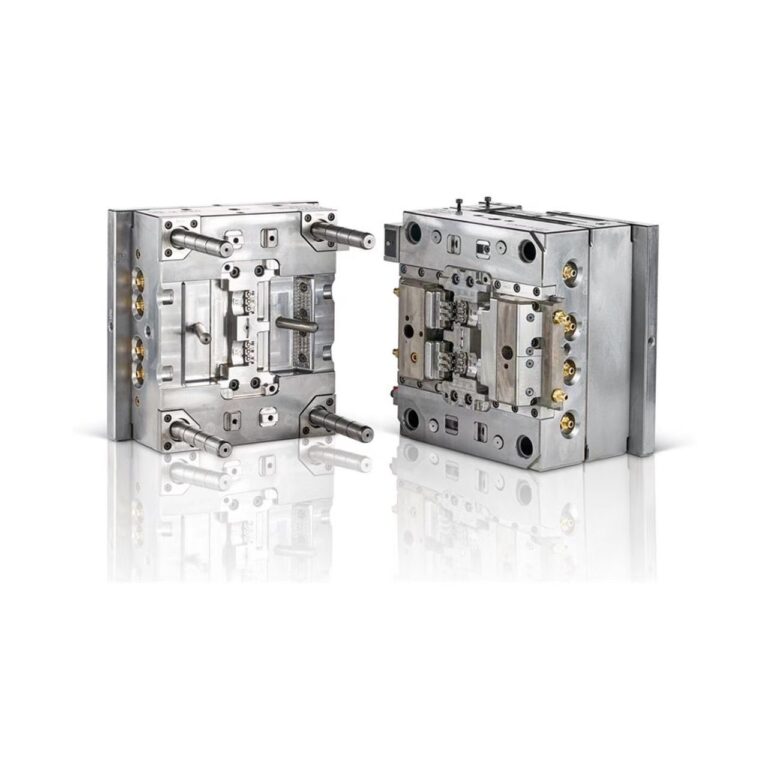
Separate Insert Placement From Insert Installation
A custom injection mold project needs to identify whether hardware will be present during molding or whether the part needs a receiving hole for a later operation. That distinction affects what the tooling team must review and what the automation quotation should cover.
HecosTech’s existing insert-molding scope includes configured robot loading, mold placement and finished-part takeout. A separate post-mold installation process must be specified independently. Do not assume a heat-installation press, ultrasonic unit, fastener supply or installation qualification is included merely because a proposal contains an injection molding robot.
Identify How the Threaded Insert Is Retained
In the molded-in route, plastic forms around an insert already located in the cavity. Post-mold routes instead bring the insert into a hole in the finished plastic component. SPIROL’s threaded-insert overview distinguishes molded-in, heat or ultrasonic, press-in and self-tapping designs; these are different installation families, not interchangeable names.
For heat-set or ultrasonic installation, the surrounding thermoplastic is locally softened or melted so it can engage the insert’s retention features. PennEngineering’s installation overview describes a thermal press for heat installation and vibration-generated heat for ultrasonic installation. Neither process is the same as placing an insert before injection.
Specify the insert manufacturer’s part number, external geometry, material and intended installation method as well as the internal thread. The same thread size does not establish that two inserts need the same hole, loading fixture or process. Keep proposed substitutions visible in the engineering review.
Check the Plastic and Joint Requirements
Heat and ultrasonic insert installation rely on the plastic’s response to heat and are associated with thermoplastics, not a universal method for every plastic. Give the exact resin grade and filler information to the insert and process suppliers. A broad description such as ‘plastic housing’ is not enough to approve the installation route.
Describe what the joint must do: locate a cover, retain a bracket, carry a specified load or permit planned disassembly. Provide the mating screw and component drawing, assembly conditions and service environment. Ask the responsible designer to define acceptance requirements instead of substituting a generic strong-thread claim.
A material change should trigger a review of both molding and the threaded joint. Record whether the new grade, filler or insert is already approved for the proposed assembly. Keep electrical, chemical, sealing and other application requirements separate; the presence of a metal insert does not prove that the finished component meets them.
Review the Drawing for the Selected Method
For a molded-in arrangement, ask the mold designer to show the insert location, locating features and how the robot or operator reaches that position. Identify the surfaces that must remain free of plastic and the information needed to confirm a correctly loaded insert before the molding sequence continues.
For a post-mold arrangement, identify the receiving hole, surrounding boss and access for the installation tooling. The SPIROL design guide treats hole geometry, surrounding plastic and mating-component design as part of insert selection. Use the selected supplier’s recommendations for the actual part; do not transfer dimensions from an unrelated example.
Show the acceptable installed position on the drawing, including any recess or protrusion requirement. Confirm that the next component and assembly tool can reach the threaded feature. A drawing review should cover both installation access and the joint’s final use, rather than approving the insert in isolation.
Compare the Complete Production Sequence
The insert molding robot review covers feeding, pickup, mold placement and part takeout for the selected project. Agree how insert availability, orientation and placement are checked, and how an incomplete loading sequence is handled. The required control functions belong in the scope, not in an assumed standard package.
For a post-mold route, draw the separate path from part takeout to installation and onward to the next operation. Identify who supplies the fixture, installation equipment, controls and acceptance process. Compare space, transfers and equipment responsibilities alongside the injection molding operation, even when a different supplier owns the installation station.
The broader injection molding robot system can be evaluated around the defined pickup and receiving positions. Compare the full sequence at the required usable output, not just one robot movement or station cycle. Do not assume either method is always faster, cheaper or compatible with an existing line.
Agree How the Assembly Will Be Evaluated
Separate correct insert presence and position from the threaded joint’s functional acceptance. Agree with the component designer and insert supplier which checks are needed for the actual assembly, who performs them and what constitutes an acceptable result. A visual check alone should not be treated as a measured torque or pull-out result.
Keep the part revision, resin grade, insert identity and installation route attached to the evaluation record. Results from another plastic, insert style or hole arrangement should not be presented as the new project’s performance. Where testing is required, its method, samples and responsible facility must be agreed rather than assumed to be included.
Compare the two proposals only after their boundaries are clear. One may cover a mold and loading robot, while another includes molding plus a separately supplied installation station. Request an inclusion list and identify unresolved engineering decisions before comparing the prices or committing to the production layout.
Threaded Insert Method Questions
Can One Insert Be Used for Either Installation Method?
Do not assume so from the internal thread size. Ask the insert supplier to approve the exact part number, plastic and installation method, then align the mold or receiving-hole design with that decision. Changing the method can require changes to the insert, part geometry and production equipment.
Does an Insert Molding Robot Also Install Heat-Set Inserts?
Mold loading and heat installation are different operations. HecosTech’s published insert-molding robot scope describes handling hardware before injection and removing the molded part. Any separate post-mold installation function needs its own defined equipment, supplier responsibility and acceptance scope; it is not implied by the robot description.
Define the Insert and Mold Loading Requirements
Send the insert drawing or part number, plastic-part drawing, resin grade, intended installation route and injection molding machine information. HecosTech can review the mold project requirements and the relevant loading and takeout scope. Use email or WhatsApp to discuss a project-specific quotation.